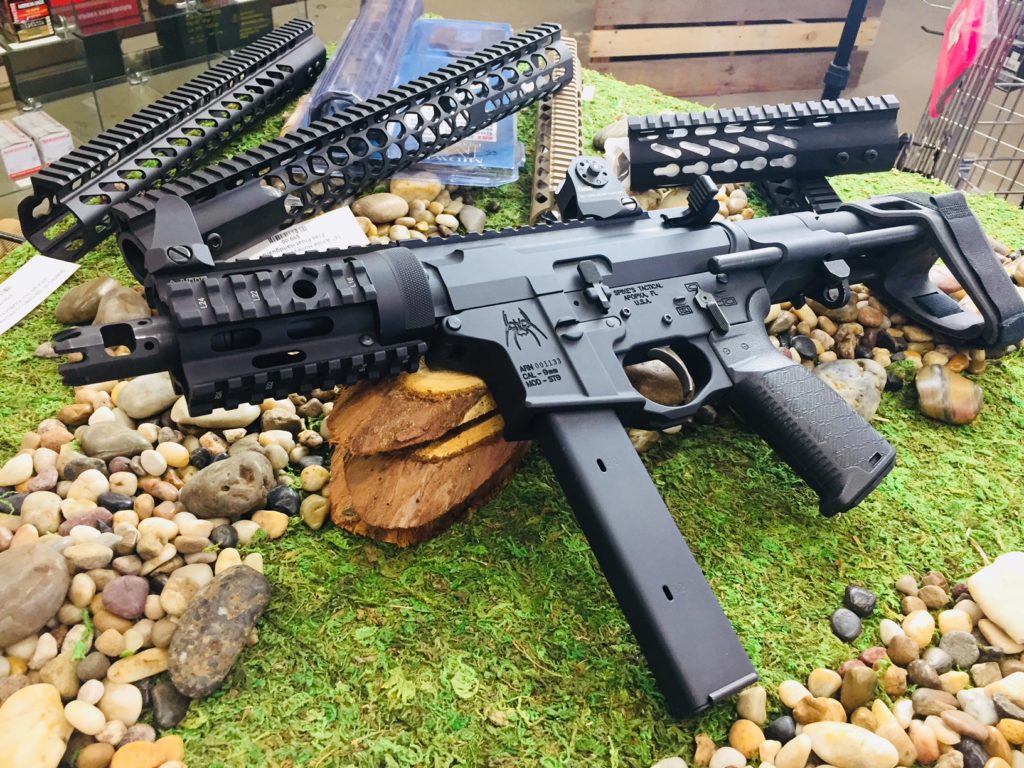
Whether it’s your first AR-15 or your fifth, at some point many owners (or would be owners) decide to assemble from parts instead of buying an off-the-shelf product. The knowledge and satisfaction gained by DIYing your next AR is a great feeling, and you’ll have a unique firearm built specifically to your tastes.
Assembling an AR-15 piece-by-piece isn’t as complicated as you might think. Many people have assembled AR-15s without ever even owning one first. Their first AR was the one they built. Some steps of the process are easier than others, but as long as you’re patient, can pay attention to detail, follow instructions and have the right tools, most individuals can have their first range-ready AR-15 built in a couple of hours without any prior gunsmithing knowledge or skill.
There are plenty of online instructions out there that can walk you through the process step-by-step, and here at JTAC USA we’re are always happy to give advice and steer you in the right direction if you run into trouble.
Also: If you haven’t yet checked out the more general article, First AR-15 Build? Here’s what You Need to Know, now would be a good time.
Build vs Buy
Only you can know for sure which is the better path. Certainly there’s convenience to walking into a store There are hundreds of manufacturers out there making quality ARs, but as we like to say AR-15s are like pizza, you can have them any way you like. With tens of thousands of choices available, why would you want the same rifle as the guy next to you?
Of course that’s a bit of a can of worms. The huge selection can be overwhelming in the beginning. We’re happy to help anyone sort out the right parts for their budget. You can also buy our models as unassembled kits, so the hard work of choosing and acquiring the parts has been done for you, you just need to put it together. But for many, that’s all part of the fun. Whatever your comfort level with part selection, JTAC USA can accommodate you.
While cost may not be the main factor for everyone, there certainly can be a cost savings to custom building your AR-15 rather than off the shelf. As we explained in our previous article on planning First AR-15 Build? Here’s what You Need to Know , there’s a number of ways a build can save you money. This is why our models are sometimes hundreds of dollars less than comparable off-the-shelf ARs.
Customization may be the main reason people build instead of buy, but one of the best benefits is the technical knowledge gained. There’s no better way to understand the ins and outs of how your firearm functions than by assembling it piece by piece. If you ever have problems with your rifle, you’ll be much better equipped to diagnose and remedy the problem without necessarily needing to visit a gunsmith.
The Right Tool for the Job
Okay, here we go. We’ve broken this down into two lists. The first is a rundown of the bare minimum you’ll need to get started. The second is a list of nice to haves – things we wishing we had or had known about when we were getting started.
While you certainly will need to factor in the cost of these tools when comparing the price of a pre-assembled AR vs building yourself, we would suggest that these tools should be purchased by every AR owner to help with ongoing maintenance and modification. Some items are AR-specific, but many others are standard household tools that can be found at your local hardware store if you don’t have them on hand already.
1. Workspace
It doesn’t have to be pretty or fancy – that old humble home workbench that was hand-built by your wife’s grandfather many moons ago will do the job just fine. All you really need is a flat table or workbench sturdy enough to mount a standard bench vice to (if it doesn’t have one already).
Also, you’ll be working with some very small parts, so make sure the area is well lit. Overhead lighting, along with a secondary light source – like a mountable reading light – will come in very handy when you invariably cast a shadow right where you’re trying to see.
Lastly, you’ll want it to be in place that you can keep clean and won’t accumulate a bunch of clutter.
2. Eye Protection
Many parts of an AR are held under constant tension by springs. A detent pin flying into your eye at high velocity is sure to ruin your day, and potentially a lot more. Why take a chance?
3. Upper and Lower Receiver Vice Blocks
The bench vise is used to hold things in place as you work, but you obviously don’t want to clamp down directly on your gun parts with it. These vice blocks hold your receivers firmly in place without the vice jaws touching the part itself.
They’re often sold as a package, with a magwell block for the lower and a clamshell block for uppers. However I quickly found out the clamshell blocks aren’t compatible with many non-milspec upper receivers.
If you think you’re going to be doing more builds, or at least maybe creating multiple uppers, you can give yourself more options by instead purchasing a steel rail-style block, or if you want to go all out, the more expensive Geissele Reaction Rod. With either, you’ll be good to go with practically any AR upper receiver.
3. Punch Set
Like many firearms, most of an AR is held together using various sizes of roll pins. Those pins need to be hammered in place, and good set of roll punches are the best way to do it. You may be able to these bundled together as part of a gunsmithing tool kit, otherwise they can all be bought individually. Make sure you also get a 1/16″ punch if your set doesn’t come with one. It makes a good “slave” for the small roll pins.
4. AR Armorer’s Wrench/Tool
This AR-specific multi-tool is used for several tasks, from installing mil-spec barrel nuts (which many after-market handguard manufacturers still utilize), as well as the castle nut on your buffer tube. They also have cutouts in various sizes that work well for timing muzzle devices, etc.
5. Gunsmithing Hammer
A small, two-sided hammer mainly used for driving roll pins home, but you’ll use it for all kinds of other things. One side of the head is usually made of metal for hammering pins, while the other side is a softer nylon or plastic.
6. Multi-bit Screwdriver
Most manufacturers seem to stick to Allen or Torx-head screws, so you’ll want a wide range of sizes in those types of bits. But I’ve seen some components use Flat-head or Philips as well.
7. Needle-Nosed Pliers
ARs utilize a lot of small components, and a small set of needle-nosed pliers work much better than your fingers when it comes to holding something tiny in place.
8. Torque Wrench
Barrel nuts must be tightened within specific tolerances as per manufacturers instructions. A torque wrench will ensure you’ve tightened things up just right.
9. Breaker Bar
Torque Wrenches can break or become improperly calibrated if misused. Don’t take the chance. Use a breaker bar to do any of the non-specific loosening or tightening you might require.
10. Consumables
Grease – Anywhere two different types of metal touch – in this case usually steel and aluminum – grease should be applied in order to assure they don’t seize or corrode together over time.
Loctite – Loctite or similar threadlocking compounds are liquid products applied to screws to keep them from coming loose over time. You’ll find this being called-for with many free float handguards, or when it comes time to mount optics.
Good to Haves
While the above items will give you what you need to get things built, here are a few items we’ve found can come in very handy. The more builds or modifications you think you might be doing, the more useful and worthwhile it becomes to invest in some of these items.
1. Roll Pin Starter Punch Set
Many get by with needle-nosed pliers, but these starter punches make life SO MUCH easier when it comes to getting the roll pins started. They have hollow tips that hold the pin where you want it, while at the same time give you something to hammer on. Once the pin is started, it’s much easier to finish with a standard punch.
2. 1/4″ Clevis Pin
Installing the front takedown pin is a tricky process. We’re simply not equipped with enough hands. It’s usually one of the last steps of a lower build and the one builders least look forward to. Then we came across this YouTube video showing how a $2 clevis pin from your local hardware store makes it a breeze. You’re welcome!
3. Crowfoot Wrench Heads
Some barrel nuts simply require a crowfoot wrench head – usually 1 1/4″ and 1 1/3″ – attached to your torque wrench to install barrel nuts. If you’ve already got some in your toolbox, great. Otherwise I recommend you buy one at a time only as needed. You’ll want to keep them under a 1/2″ wide if possible.
4. Rubber Mallet
Sometimes getting parts on or off requires a little violence. When you need to hit things on your gun really hard without marring the finish, a rubber mallet is a good choice.
5. Torque Screwdriver
For the same reason we need the torque wrench, some manufacturers require that certain screws be tightened within minimum or maximum tolerances. However this is mainly used for mounting scopes, etc. so it’s not crucial to have for a build. We’d say leave this purchase until you need it.
6. Paper Clips
We can’t tell you how many times a thin, flexible piece of metal has been just the ticket for holding a roll pin in place. They certainly make installing the gas tube into the gas block a lot easier.
7. Part Organizer
That thing with the little drawers that your dad kept all his random screws, washers, and bits in. Eventually you’ll want to get a small part organizer to store the little extras that tend to accumulate.
8. Freezer
No, I’m not suggesting you need a dedicated “gun freezer”. Most parts of an AR are either made of aluminum or steel. These two metals expand and contract at different rates, so a little time in the freezer can do wonders to help separate really tight-fitting parts. Science!
9. Heat Gun
Same goes here. Heating certain tight-fitting parts can sometimes help work things loose. But more often, a heatgun is used to help with seizing compounds like Loctite. These compounds are often applied to screws during a build to ensure they don’t become loose over time. That’s great until you actually want them to come loose. The high heat level from a heat gun will re-soften the previously applied non-permanent compounds.
10. 3/4″ Doweling
If you ever need to remove a super-tight barrel and the freezer trick just isn’t working, a foot-long piece piece of wooden doweling will make the job much easier. Insert through the back of the upper receiver until it contacts the barrel extension, and hammer away to push the barrel out without damaging it. Make sure to have someone there to catch it, or at least something soft on the floor for it to land on.
11. Painter’s Tape
Some roll pins need to be punched into place at awkward angles that have your hammer swinging dangerously close to other parts. A little painter’s tape is a great way to non-permanently cover and protect an area of your receiver when you’re worried an errant hammer swing might take off some of the finish.
12. Gunsmith’s Touch-up Pen
Your AR is probably going to get banged-up over time out in the wild anyway, but there’s no glory in your first ding coming from an errant hammer swing. The painter’s tape can help you avoid this in the first place, but even the most practiced builder will still have the odd “oops” moment. This black touch-up pen applicator will help cover and protect those awkward blemishes on your otherwise shiny new AR.


